
In case you didn't guess from the picture, today's Halloween tutorial is going to be a (relatively) glam vampire look! Now first up, I apologise if the images are looking a little grainy in comparison to usual, I'm not entirely sure what was going on with my camera but hopefully they are still good enough for you to follow! I would have done it again but since we're on a schedule here I didn't want to risk missing a day!
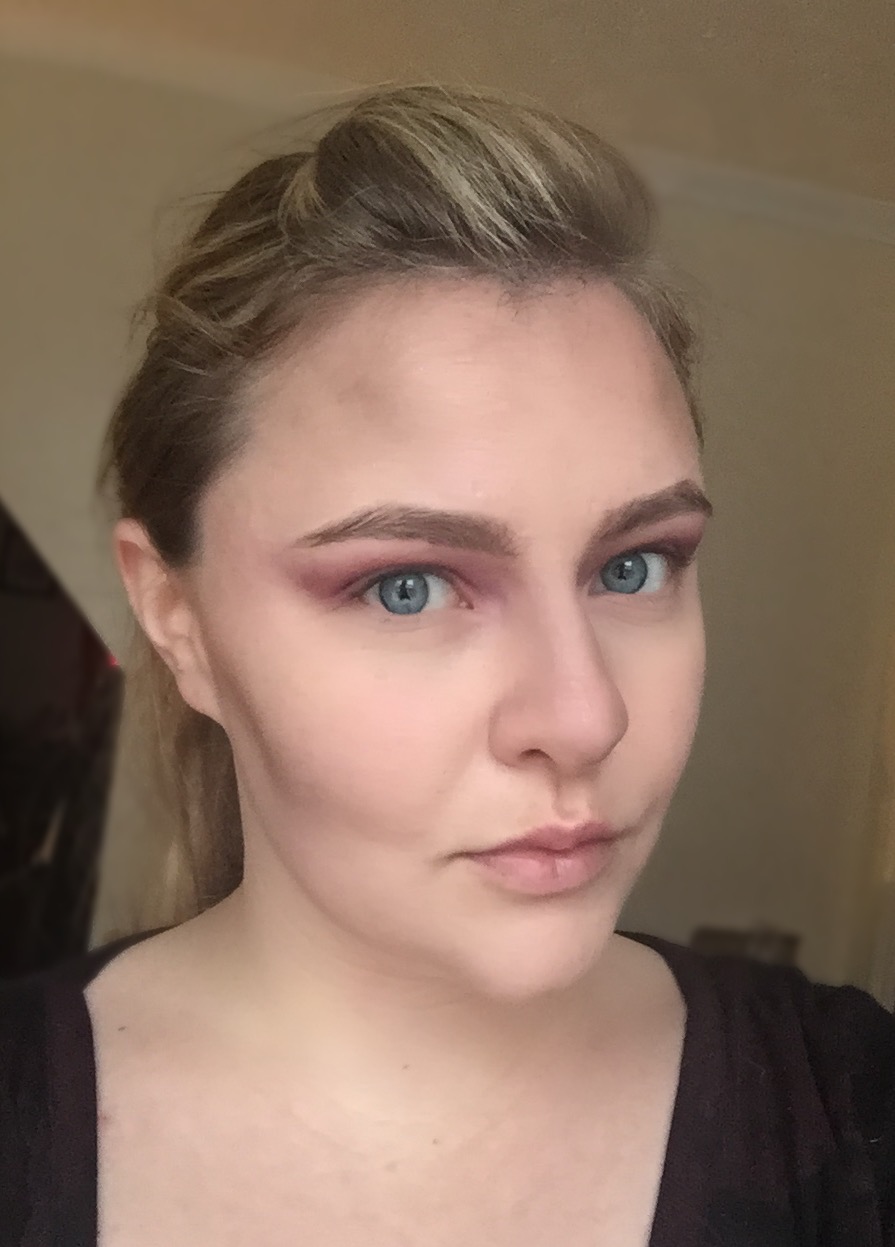
I based this look on the rather beautiful people in The Vampire Diaries and the one thing they always have is perfect skin. So start off with your normal foundation / BB cream and concealer routine to give yourself a flawless base because lets be honest, you don't see a lot of spotty vampires running around!
Next, make your face look a little more angular with the wonders of contouring! If you aren't familiar with contouring, follow my guide here but rather than using just natural colours, use both a light grey and a brown as your dark colour (I used UD Password and W7 Sunkissed). This will really make your features stand out and gives the whole look a more dramatic feel.
Fill in your brows using either a pencil or gel (or both!), whichever you are most comfortable with to create a sharp look. I took my brows just a little further at the tail than I usually do just to enhance the look that tiny bit.
Now it's on to the main feature of this look, the eyes! Since we are going fairly heavy with the eyeshadow, I suggest using a good eyeshadow primer to keep the look in place. Plus it has the added bonus of really making the colours stand out!
I used Urban Decay Combust and Thirteen (from the Naked Smoky palette) in my crease first, blending right up to the brow. If you choose colours that are close to your skin tone or slightly lighter for this step, it will give a really smooth transition from the darker colours.
Next take a rich burgundy shade (I used Makeup Geek Bitten) and start applying it over the lid, blending into the crease and out into a point towards your eyebrows. Also take it right into the inner corner of your eye and lightly onto the side of your nose.

To give a really deep dark look, we want to create a dark base on the eyelid. This is best achieved by packing on a cream black eyeshadow or even a gel eye liner (I used Seventeen Gel Liner in Smoulder). To set it in place, cover the lid in a black eyeshadow and gently blend it into the crease so that you get a smooth transition into your burgundy shade. Take your time with this step as black can be difficult to work with, just keep adding in little amounts until you are happy!

Take the burgundy shade again and blend it under your eyes, taking it further than you normally would but trying to keep that overall pointed shape leading up to the eyebrows. Use a black kohl liner along your water line and a black eyeshadow to smudge just underneath the water line.
If you want to wear fake lashes, now is the time to add them. If you aren't a fan, leave them out! I used some natural look lashes that I wanted to test out from Primark which I was pleasantly surprised with!

To finish off the eyes, it's time to make the veins! If you have a purple lipstick, that will be perfect. If not, don't panic! If you have a red lipstick just swatch a fair bit of it on your hand and mix in a little blue eyeshadow. You could also use face paints if you have some on hand. I used Mac Rebel mixed with a little bit of blue eyeshadow to deepen it slightly.
To create the veins, use a small lipstick brush and gently brush down from your lash line and create little lines. Think of it as if you are drawing the branches of a tree with little shoots coming off! I found it best to wipe off practically all the product and then draw the lines really faintly, building it up if needed. That way if you draw a bit of a dodgy vein, a cheeky little smudge and it's gone rather than needing a full on makeup remover episode!
I then used LA Girl Lipliner in Dark Plum all over my lip to create a base and Mac Rebel over the top. I felt a berry lipstick really complemented this look because of the burgundy tones around the eye but feel free to change it up. You can always take it to the next level and use a dark blue or black lipstick if you fancy it!
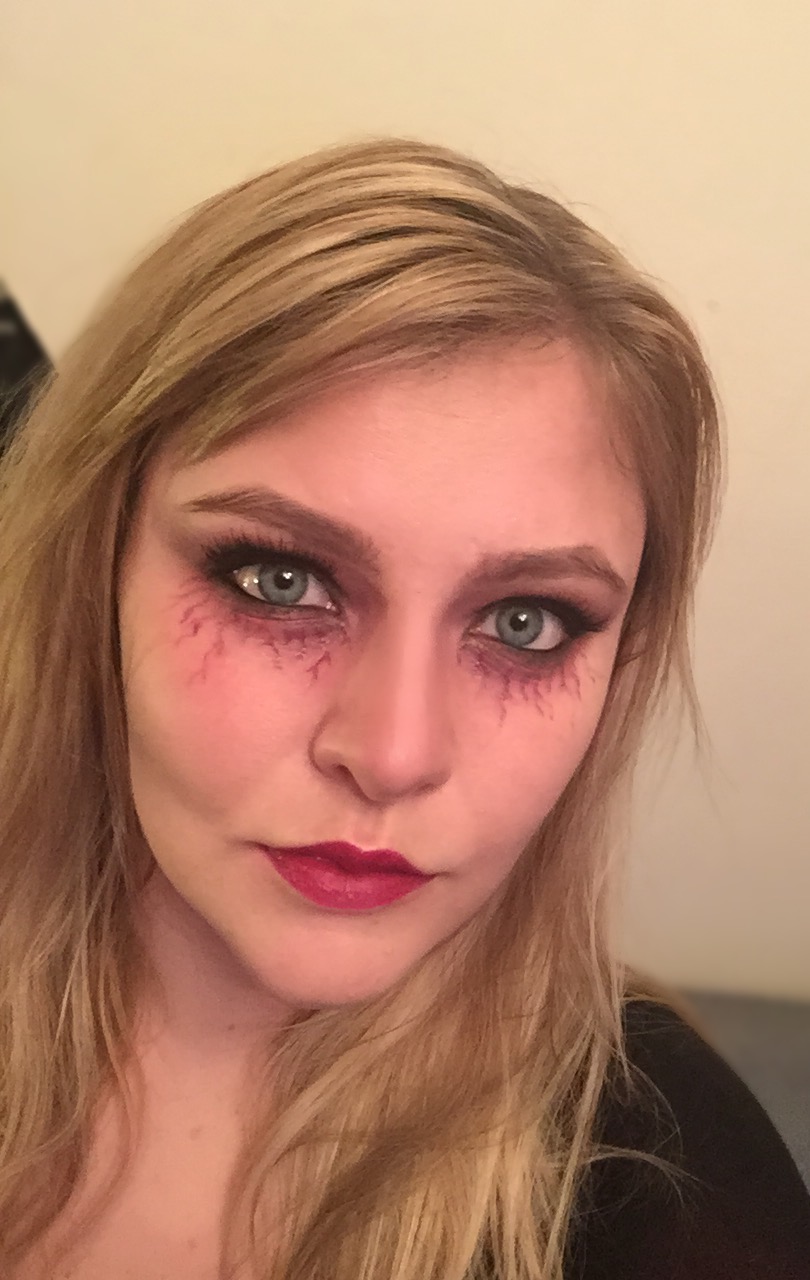
For the finishing touches, add some bite marks! Make two small circles on your neck with the burgundy shade and add a little black dot in the center to give it some depth. If you have some fake blood to hand, dot a little of it into the bite marks and add a little around your mouth for some extra authenticity!
I'd actually bought some but it was a really bright red that frankly looked rubbish! So I actually used LA Girl Lip Paint in Tempt for my fake blood which I think turned out pretty well. If you have the same predicament as me, try and dig out a dark purple lipgloss or liquid lipstick if you have one and again, add a few products together if you don't have the right colour initially!


I hope you like this version of a vampire look! If you give it a go, please do tell me in the comments, I'd love to see how it turned out!
No comments
Post a Comment